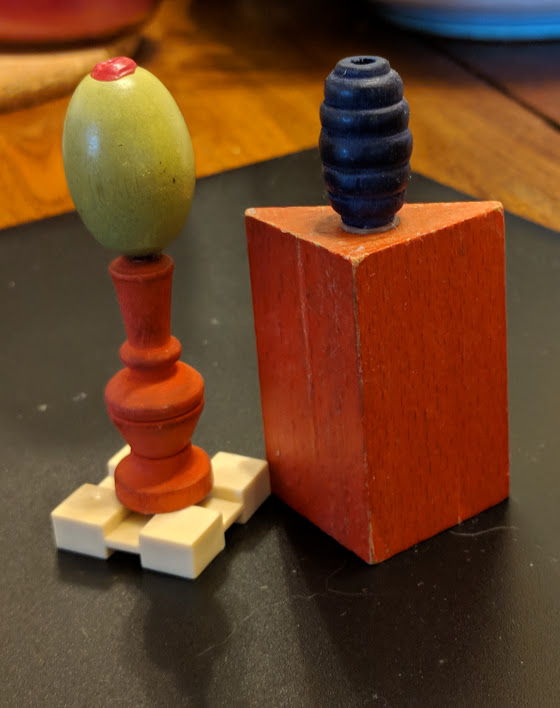
Wednesday, October 31, 2018

Ball Display

 If you visit the Gorey House (and I suggest that you do), you will notice various assemblages of balls, stones, and marbles.  Examples are below.


So I was pleased but not surprised when I found a collection of marbles at the kickoff.  I grabbed a few, as well as some interestingly shaped napkin rings.


I made a small-scaled ball display which doubles as my own private tribute.  I left the marbles loose, so they are fully playable.


Saturday, October 27, 2018

Natural Curiosities

Victorians were in love with natural history.  And given the age of my shop, I decided to incorporate some natural curiosities.

First I removed the shells from this lovely shell plant.  I positioned them outward to highlight their creatureness.


Then I made use of some of the glass pebbles.  I thought the yellow pebbles had an amber-like quality:


So I made them into amber specimen paperweights.  I shrunk down stock photos and printed them onto photo paper.  Then I glued the pebbles over the images as shown.


Results are below.  The bubbles from the superglue look a bit like amber bubbles.  (That's what I'm going with, anyway.)


Tuesday, October 23, 2018

Mini Spinning Tops

This one was almost too easy.  

Some of the beads were shaped very much like old-fashioned spinning tops.  Here is an example of a  19th century top from the Victoria & Albert Museum of Childhood:


And here are the beads from the necklace.  I left one of the beads its original pink, and painted the other one yellow for contrast.  We made a special trip to Home Depot tonight get the perfect sized screws.  (Thank you, Bob!)


Sunday, October 21, 2018

Ready Made Objets

Some of the items from kickoff were interesting enough to use in their original or close to original form. My favorite was the corkscrew mouse/pig, but the olive bead was a close second.  I found the olive loose in the same box as the wooden necklaces.  I glued it to a small wood pedestal and Lego square to make a floor lamp.


I mounted the other pieces on the toy blocks and store shelves.


It's starting to take shape!  I especially like how the ceramic monkey looks with the Monkey Brand Black Tooth Powder poster.


Sunday, October 14, 2018

First Blocking

I started arranging the pieces that I've made to date.  Results are below.


I used some of the toy blocks as furniture. One was the perfect size for a sales counter, and others made interesting pedestals.


I am happy with the progress, but I still have more to work with.  Up next: marbles, baubles, and odd-shaped beads!  


Saturday, October 13, 2018

Last Tin: German Bread Box


The bread box  was a common accessory in 19th century miniature shops.  And lucky for me, one of the tins was the perfect bread box size and shape.


I could have left it as it was, but I decided to decorate it with this Edward Gorey illustration as a tribute.


Devon helped me affix the picture to the top of the tin.  (Thank you, Devon!)


I put an antique cake inside as a reward for anyone who is curious enough to open the tin. The cake is most likely German, circa 1890. Read here for more about Antique and Vintage Dollhouse Food. 


Third Tin: Mini Jigsaw Puzzle

I would be remiss if I did not use this pig.


I found him while cutting up the Tempura Wok and Cookery book for the Words and Sentences game.  I considered turning him into a Victorian era Sliced Animals set, but I decided to go with the less morbid picture puzzle.

I added light color and mounted onto cardboard for stability. 


Then I cut into pieces, and shrunk down a photo of the picture for the box cover.


Final results below.  I left the pieces loose, so it's fully operable.  It has 70 pieces total, but it's harder to solve than it looks!


Monday, October 8, 2018

Second Tin: Mini Word Game

I used the second smallest tin to make a word game.  I had originally thought Scrabble, but Scrabble was not invented until the 1930s, which was too new for my shop.  So I found a few anagram histories online, and settled on an 1877 version of  Words and Sentences by Milton Bradley. 

I cut out recipe titles from the Wok and Tempura Cookery book and glued them to a piece of carboard for stability.  The titles worked well because they were all in caps. 


Then I cut up the letters as shown.


I found clear pictures of the original box cover and instructions from BoardGameGeek and shrunk them down to size.


Results are below.  I left the letters and instructions loose, so it is technically playable - but it's short a few letters.  Perhaps a food-themed game?


Sunday, October 7, 2018

Nesting Tins

During the kickoff I chose three tins as part of my inventory.


But when I unpacked the items, I found that additional tins had been nested inside each other as shown.


I was delighted with my discovery, and secretly hoped that Gorey himself had taken the time to layer them.  With this in mind, I took extra care with the mini tins.

Mini Tiddlywinks


I used the smallest tin to make a miniature Tiddlywinks game.  Tiddlywinks originated in 1888, which makes it roughly the right age for my project.  Also, the pieces were simple enough to execute in miniature.  You can read about the history of Tiddlywinks here.  (I did!)

I went back to the books for the game pieces. I used a 1/16" hole punch to make the smallest pieces ("winks"), and a 1/4" hole punch for the shooters ("squidgers"). 


I found pictures of original instructions and game boxes from the Tiddlywinks site and shrunk them  to the size of the tin.


Then I used one of Devon's red plastic pony beads for the cup.  (Thank you, Devon!)  Results are below.


Saturday, October 6, 2018

Yarn Display

I was quite pleased with my yarn. So pleased, in fact, that I took extra time to consider its display.  I found the solution while reading the Tommy Tiptop book:


I decided to turn Tommy and his excitement into a stand-up billboard.  I painted pine craft sticks for the background, and ordered some 1880s yarn advertisements from eBay.  The ads worked well since they are approximately the same age as the shop.


Results are below.  It is possible that this display amuses me more than it should.


Mini Vases and Urns

The wooden necklaces were a miniature goldmine.  While making the gumballs and yarn, I noticed that some of the larger beads were the right size and shape to make urns, vases, or other objects d'art.


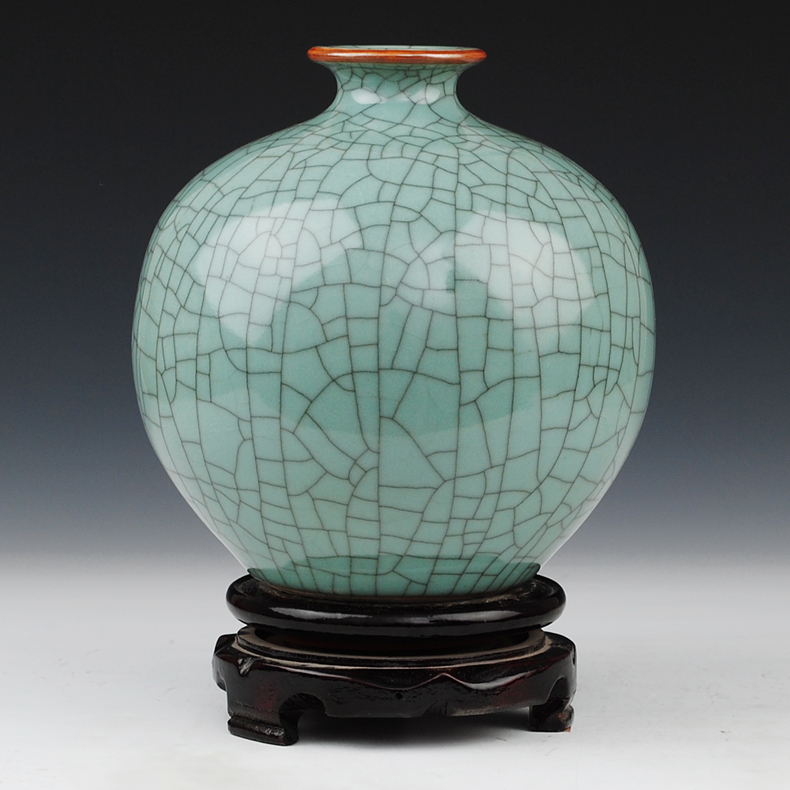
I thought it would be fun to experiment with a cracked finish to create something like this:


So I bought some crackle spray paint and got to work.  


 The crackle finish required two steps.  First Devon sprayed the beads with a base coat of gold. (Thank you, Devon!)


Then she sprayed on the crackle layer and waited for it to dry.


Results are below.  I decided to leave one of the vases gold, although it somewhat resembles a cremation urn.  I also mounted a marble on one of the smaller beads to make a crystal ball.